Login

Adding Internal Users

Learn how to add internal users, or staff, to MeSA.

View the List of Existing Internal Users

  1. Click on "Internal Users" under the "Setup" tab.
  • For mulit-location companies, be sure the user is being added to the correct location by first clicking on the location name on the top navigation.
  • To see a list of all the internal users across the company or add a user to the top-level, simply select the top unit first.

Add a New Internal User
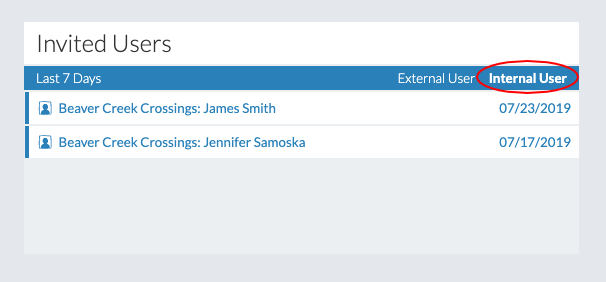
  1. Click on "Internal Users" under the "Setup" tab. For mulit-location companies, be sure the correct location is first selected in the upper right blue area (ex. Beaver Creek Crossings).  
  2. Click the "Add Internal User" button.
  3. Fill out the form with the user's information.
    • The "Internal User Permissions" control what the internal user will be able to see and do inside the system. Select the permissions accordingly.
    • Select the "Signature" button to digitally sign the form.
  4. Click the "Save" button to send an invitation to the internal user.
  • Note that an internal user can be added directly from the Dashboard in the "Quick Tasks" module.

Manage Invited Internal Users

Once a new user has been invited to MeSA, they will receive an email instructing them to create an account. Thier name will be displayed under 'Invited Users' module until they have responded to the invite. 

  • The "Invited Users" module displays the names of all of the invited users who have not yet created thier account.
  • Click on "Internal User" to see the list of all invited internal users.
  • To resend an invitation, click on the user's name.
  • Select the "Resend" button.
  • Click the "Save" button to resend the invitation.